Search This Blog

Monday, November 14, 2016

Wood Frame DIY - Oh Holy Night Christmas Art

My theme for Christmas this year is evergreen/plaid/"Oh Holy Night" so I decided to make the lyrics of "Oh Holy Night" the central focus of my mantle.


Right below this ▼ is one of the signs I made and below that is a sign for sale by Hobby Lobby.  They are very similar, but this is $39.00 at Hobby Lobby (same approximate dimensions, same wood frame, same black and white text) - but I made these signs for about $14 each, which is a great deal compared to $39.99 AND it let me customize the sign to be exactly what I wanted.


Step 1:  I designed the prints.  I knew I wanted lyrics from "Oh Holy Night."  Below is a visual representation of my theme this year.

Step 2: I had the design printed at Office Depot/Office Max as an 18x24 engineering print and the total cost was $1.82 each.


Step 3: I went to Lowe's and found an inexpensive piece of mdf that I asked them to cut into two 18x24 pieces. I also picked out some unfinished flat trim board with the dimensions 3/8 x 2 x 36 (you'll need 3 per frame, if you're making the same size I did).


You'll also need for this project:
miter box and saw
sandpaper
Elmer's spray adhesive
Gorilla Wood glue
wood stain - I used Minwax classic gray and Rustoleum kona
gloves/cloth/brush

Step 4:  Cut the trim pieces to make the frame.  This was my first time to use a miter box and it was really fun!  I have a history of cutting myself (knives, mandolin slicer) so I was extra cautious with the saw.  I cut two pieces down to 24 inches and then the third I was able to cut into two pieces approximately 15 in. long.


 Step 5:  Sand the rough edges.


Step 6:  Use a scrap piece of the wood you cut to test out your staining methods.  The process I decided on was to use a foam brush and brush on the brown Kona stain.  Then immediately wipe off all excess stain with a clean cloth.  Then with a different brush, I painted on the classic gray and let it sit for a while, then wiped off the excess after several minutes.


Step 7:  Time to assemble everything!  Use the spray adhesive to glue down your engineering print to your mdf board.  A word of caution - don't spray the glue too heavy and don't spray it on the paper.  I had a spot of bleed through and had to tear off the paper and get another print made.  (Which was a PAIN!)


Then make a thin line of wood glue (another lesson learned - too much and glue smushes out the edges) and place the trim on the glue.  Then clamp it down and give it time to dry - I used really big binder clips and they worked perfectly!


Then you take off the binder clips and you have a handmade piece of art that looks just as amazing as anything you could buy, is less expensive than what you can buy, is customized to say exactly what you want and you can take pride in the fact that you made it!


I'm very excited to decorate my Christmas mantle now!!


Monday, November 7, 2016

Gratitude Pumpkins


My friend Amanda had a fun idea to get a group of our friends together and make Gratitude Pumpkins.  One of her friends blog, Ordinary Threads, was the inspiration.

For this project you'll need:

pumpkin(s)
white spray paint
markers - these Sharpie brush markers that I bought from Amazon recently were perfect for this


stickers (optional) we used stickers from Hobby Lobby


Step 1:  Spray paint your pumpkin, with a light coat of white spray paint.  We weren't sure how long it would take to dry, but it was very quick - I'd estimate 5 minutes.


Step 2:  At the top write "I'm thankful for..." or alternatively you can use stickers, like we did.

Step 3:  Write things you're thankful for, spiraling around the pumpkin!  It's a great exercise to really think about what you're truly thankful for.

Reflecting on it, I find it interesting that my list was filled with intangibles.  Even though day to day life - especially in American culture - is filled with tangibles - (clothes, shoes, makeup, hair products, home decor, etc.) those aren't the things that come to mind first.  I thought of laughter, freedom, hope, peace, heaven, happy memories, traditions, joy, encouragement and love.  It really is a fun way to re-focus on what's really important.

Alternative Options:

-make a Gratitude Pumpkin as a family and take turns writing what you're thankful for

-let each person in your family make their own pumpkin - even little ones could draw pictures of things they're thankful for

-get the pumpkin started and then leave it on your porch or living area and let any visitors, guests or family members add things throughout the month of November

-Use a Gratitude Pumpkin as your Thanksgiving centerpiece - complete steps 1 and 2 above and then have markers on the table for people to write on

We really had fun with this and it was fun to see how each pumpkin turned out very differently!


If you make a Gratitude Pumpkin - I'd LOVE to see it - post a picture here on my blog or tag me on Instagram @LyndisProjects and use the hashtag #gratitudepumpkins


Monday, October 31, 2016

Spooky Old Tree Art


I saw this pin on Pinterest and decided to make a spooky tree.


It was actually really fun to make!

I started by painting a sunset scene on a page with watercolors.


Then I used this ink and a q-tip to paint a spooky tree trunk.


Then I splattered drops onto the page.


Then I used a straw to blow the dots into spooky looking branches!


I love how it turned out and now I have the perfect spooooooky old tree (one of my niece's favorite books) to hang up for Halloween!


Have a Happy Halloween!!

Monday, October 24, 2016

Fabric Letters


I've wanted to make fabric letters for a long time. Then I found this version on Pinterest and I fell in love with it - I wanted my letters to look EXACTLY like these - I wanted the same frayed edges and adorable fabric (which I discovered is Toy Chest by Penny Rose Fabrics - to me it has the look of vintage children's books and that is so perfect for these letters).


 BUT the fabric is no longer available to buy. Luckily, I found exactly what I needed for sale on Etsy (shoutout MixFabrics) for a reasonable price and it came in adorable packaging!  win/win/win


Step one was to create the alphabet patterns and cut them out.  If you want to use the font I used here is the free template.

My fabric came already cut in 5 inch squares.  So the next step was to cut fabric backing and batting into just a little bigger than five inch squares.  Use your rotary mat and cutter and this goes pretty fast.

Then I laid out my fabric squares to make sure I liked the color order.


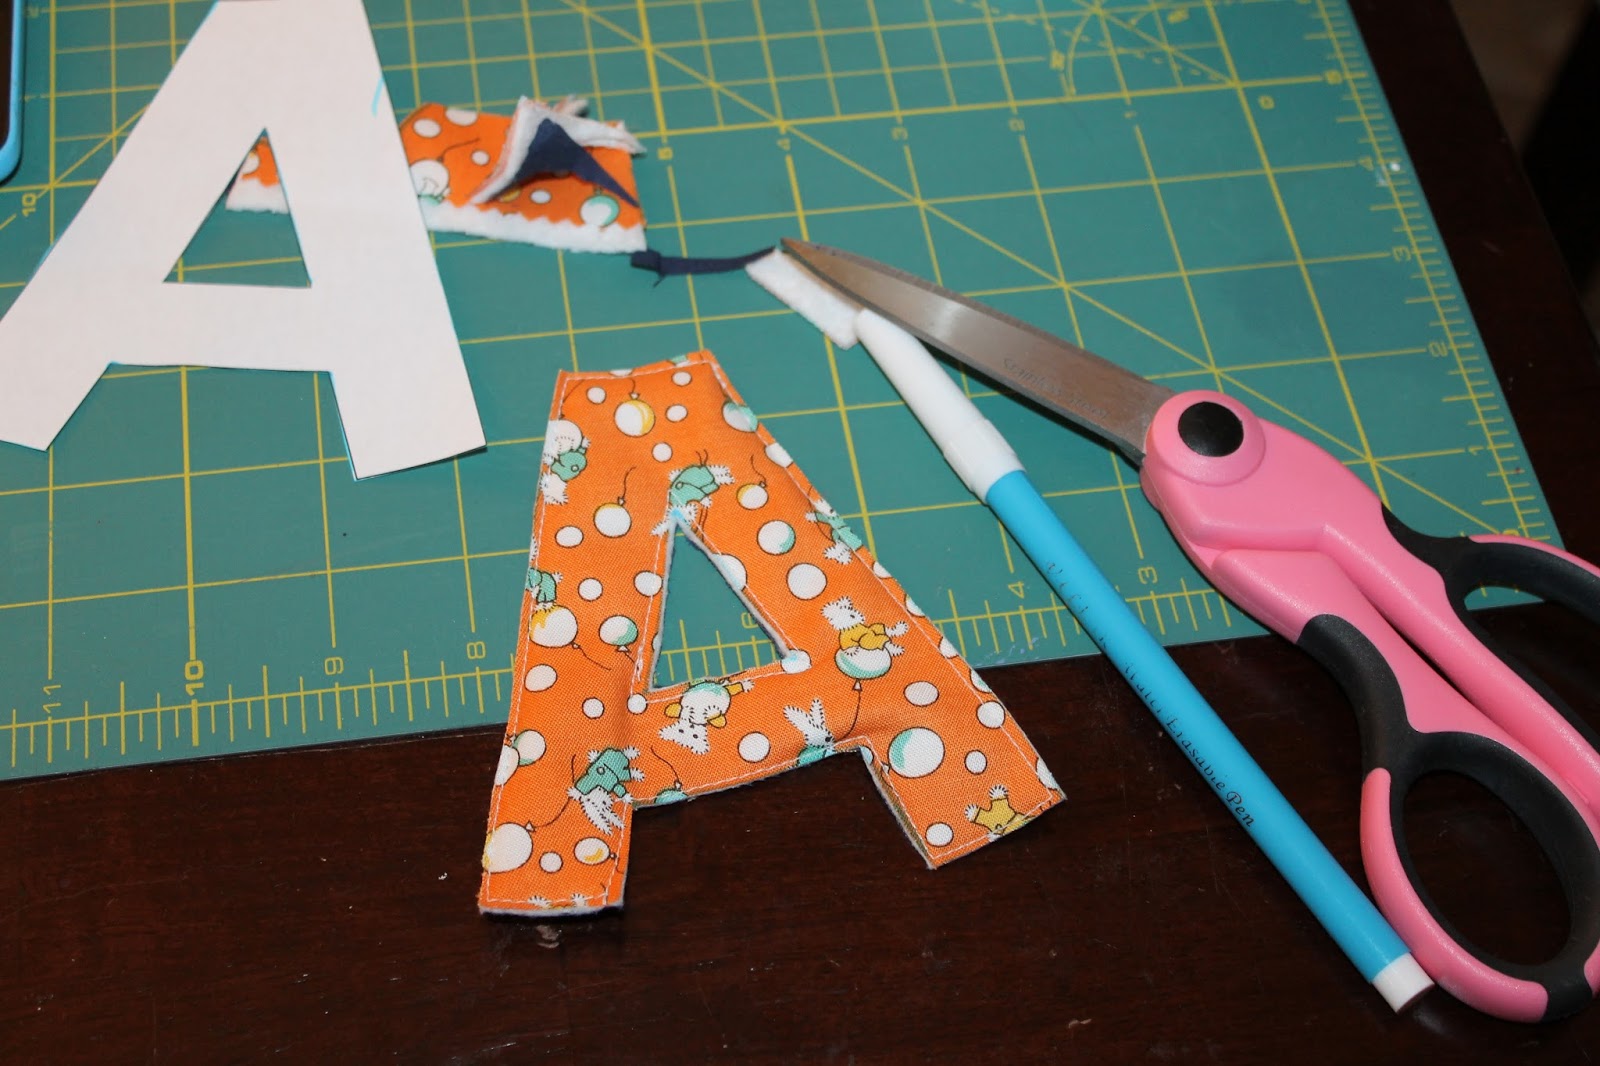
Then you make a fabric sandwich and put your letter template on top and trace around it with a fabric marker.


 Then you sew about a 1/4 inch inside your drawn lines, because the lines will be your cut line.


I had a lot of fun playing with the letters - hopefully my littles will too!


Then I took a leap of faith and washed and dried the letters in the washing machine/dryer.

They came out like this - which was scary!


But after a lot of thread clipping and ironing - I think they turned out very:


Signature

Signature

You Might Also Like...

Blog Archive