Search This Blog

Monday, April 28, 2014

Pillowcase Dress

 
During one of my regular trips to Goodwill, I saw an old, ivory pillowcase for $1.99.  I bought it with the hope that I could re-purpose and up-cycle it into a dress for my niece Hadley. 


I got it home, washed it and started researching tutorials.  I needed double bias tape in ivory and some brown ribbon, so I stopped by Hobby Lobby for those.

Then, after Saturday Night Live, at midnight, inspiration hit and I decided to start the project.  Right now morning-people are shocked and night-people know EXACTLY what I'm talking about.  :) 

I cut several inches off the top, to make it the right length. 


Then I used a 4T tank top that I had bought for Hadley as a guide for the arm holes.  I folded the pillow case in half vertically, so I only had to draw/cut once.  You draw a J shape that is about 4.5in. long and 2.5in. wide.


Then I pinned and sewed the double bias tape on the edges of the arm holes.  Then I went to bed. 

The next day I made a casing in the top edges.  I ironed approx. 1/4 in. down, then pinned and ironed 1in. down.


At that point I realized that even though I had washed it, it still had a musty, thrift store smell.  NOT ok for a gift for Hadley.  So I researched and tried soaking in in hot water and white vinegar, then letting it air dry outside.  Still musty.  Then I soaked it in the washing machine with hot water and Oxyclean for several hours.  Then finished washing it with Tide.  Fresh and clean!

Then I put a safety pin on the ribbon and scrunched it through both sides of the casing, because I like the look of one bow.  (You can use two lengths of ribbon and tie them together on both shoulders.)  I used a flame to seal the ends of the ribbon (you just get them near the fire, not in it.)

All finished!


I LOVE that on Saturday this was an old, musty pillowcase sitting in Goodwill and on Sunday, it was a beautiful, clean, new dress. 

And Hadley, in her pink cowboy boots and new pillowcase dress, could not be any more adorable!!

Monday, April 21, 2014

Adorable Kleenex Box Monster

My sister Jordan pinned a picture of this project on the same day I ran out of Kleenex - kismet!  Plus, her birthday is coming up and I knew my gift would fit perfectly.  And I had all the materials to make it in my craft supplies. 

 I figured, who wouldn't want to stick their hand in a monster's mouth to find a gift?!


 For this project you'll need:
empty Kleenex box
white paper cut into teeth
2 coordinating colors of paint
paint brush
empty egg crates or Styrofoam balls
hot glue gun
marker or googly eyes
 
1. Paint the empty Kleenex box, after taking the plastic stuff out of the top.  I used spray paint and it only took one coat.


2. Then use a paint brush and acrylic paint to add dots.


3.  Cut the teeth out of white paper.


4.  Hot glue the googly eyes onto the Styrofoam balls.


5.  Hot glue the Styrofoam balls onto the top of the box and hot glue the teeth into the box.


Easy to make monster!  What to do with them?  Halloween decorations.  Kids party decorations.  Favor boxes.  Craft project for kids.

What would you do with these adorable monsters?

Monday, April 14, 2014

Make Your Own Easter Basket!

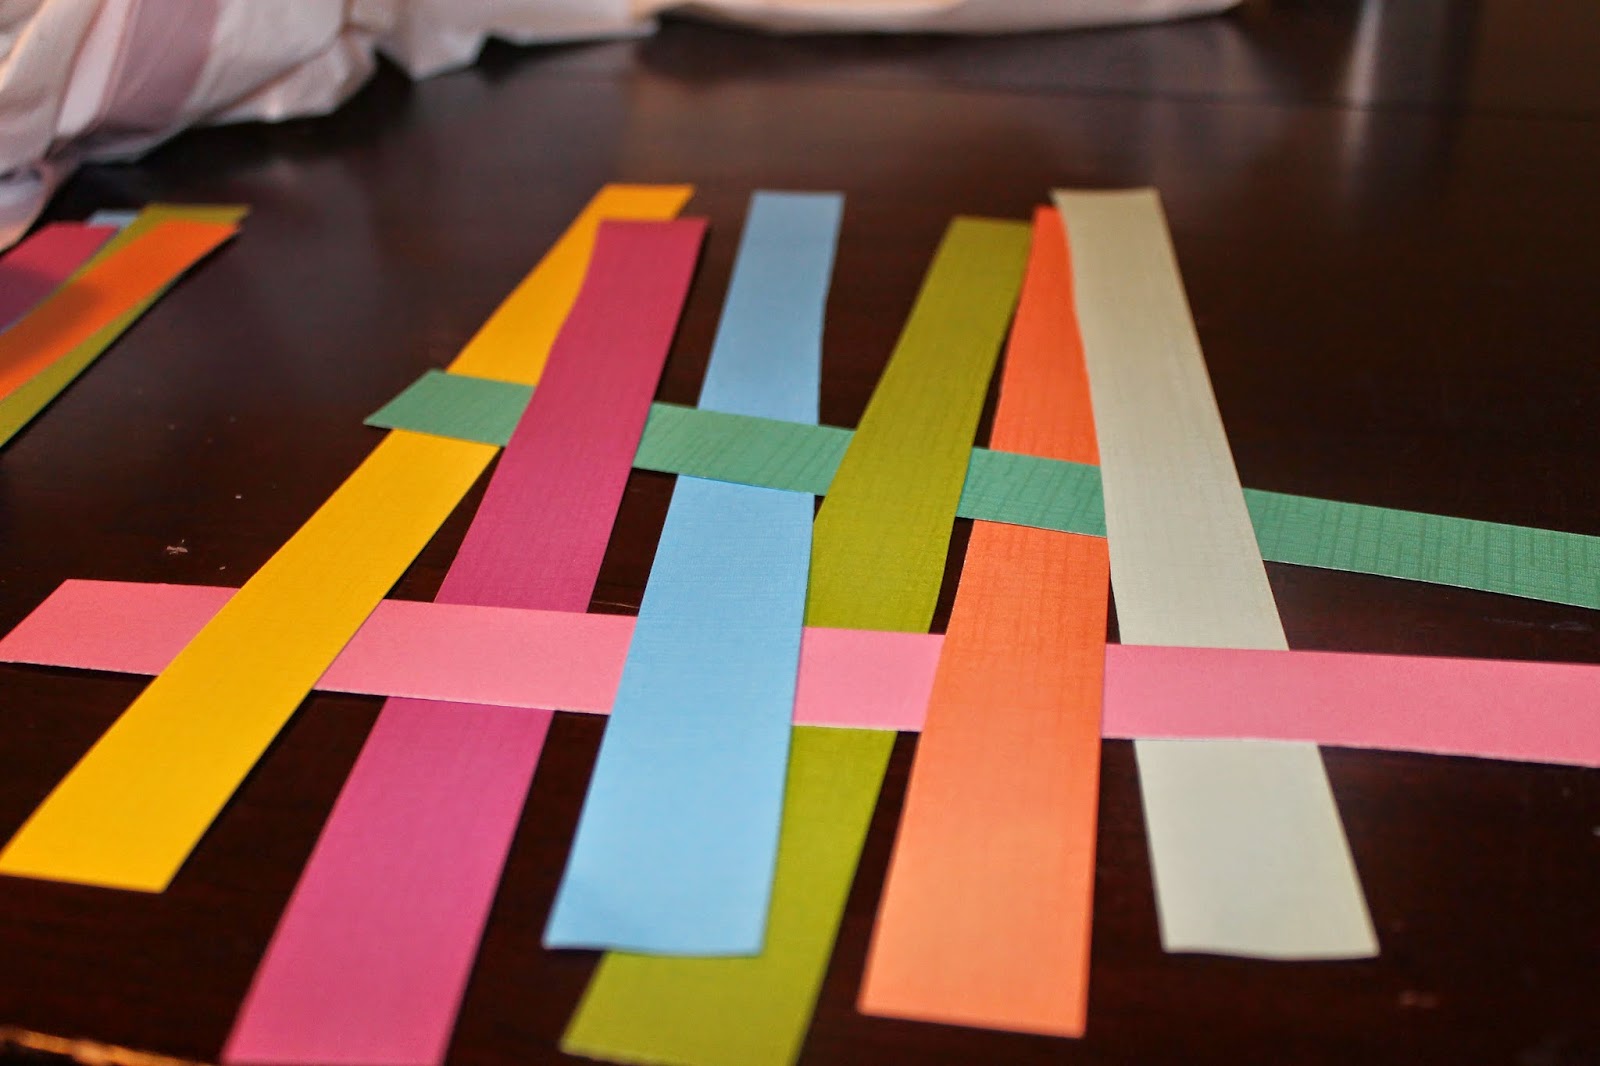
This project is an easy-to-make woven paper basket that can be used for Easter, May Day or any other special occasion!  This was actually really fun to make and kind of amazing you start with strips of paper and end up with a basket! 
 
For this project you'll need:
 
approx. 15 colorful strips of paper 1x12 inches
tape
double stick tape
 
 
Stetp 1:  Lay out four strips of paper
 
Step 2:  Weave four strips of paper through the first four, going over then under.  The woven part should form a square in the center.


Step 3:  Fold up the sides.
 
Step 4:  Begin weaving strips through the sides, using double stick tape, occasionally.  There should be 3 rows high of paper woven through the sides.
 
Step 5:  Fold the remaining paper down, on the inside and tape down with regular tape. 

 
Step 6:  Use one strip to make a handle and tape down to the inside.
 
Step 7:  Fill with Easter grass and Easter candy!! I made my own Easter grass with curling ribbon.


Monday, April 7, 2014

Jelly Bean Vase

 
This would make a great and easy Easter centerpiece!
 
For this project you need: 
 
2 vases - they should be the same height and same shape, but have 1.5 - 2 inches different diameters
jelly beans
flowers (or grass)
 
Put the smaller vase into the larger and put the jelly beans in the space between them. 
 
 
Then add flowers!


Signature

Signature

You Might Also Like...

Blog Archive