Search This Blog

Monday, July 29, 2013

Hand Painted Glasses

My sister Jordan decided to make painted glasses for the Bachelorette Brunch we planned for our sister Laura.  She is very artistic and did an amazing job hand-painting the glasses.  She let me make a few but hand-drawing with no pattern made me nervous!
 
For this Project you'll need:
glassware
a selection of paints
fine paint brushes
rubbing alcohol
q-tips/cotton balls
 

The rubbing alcohol and cotton balls are for when you make mistakes - they are a great eraser!
 
 
Get your palette ready - this is a fun part - it makes you feel like a real artist!


Jordan was painting and I was still trying to figure out a pattern!
 
 
It maybe helped a little.
 
 
We also wrote words on them, which was pretty difficult.
 
 
Jordan hand painted an exact replica of the flower girl dress on this cup - amazing!
 
 
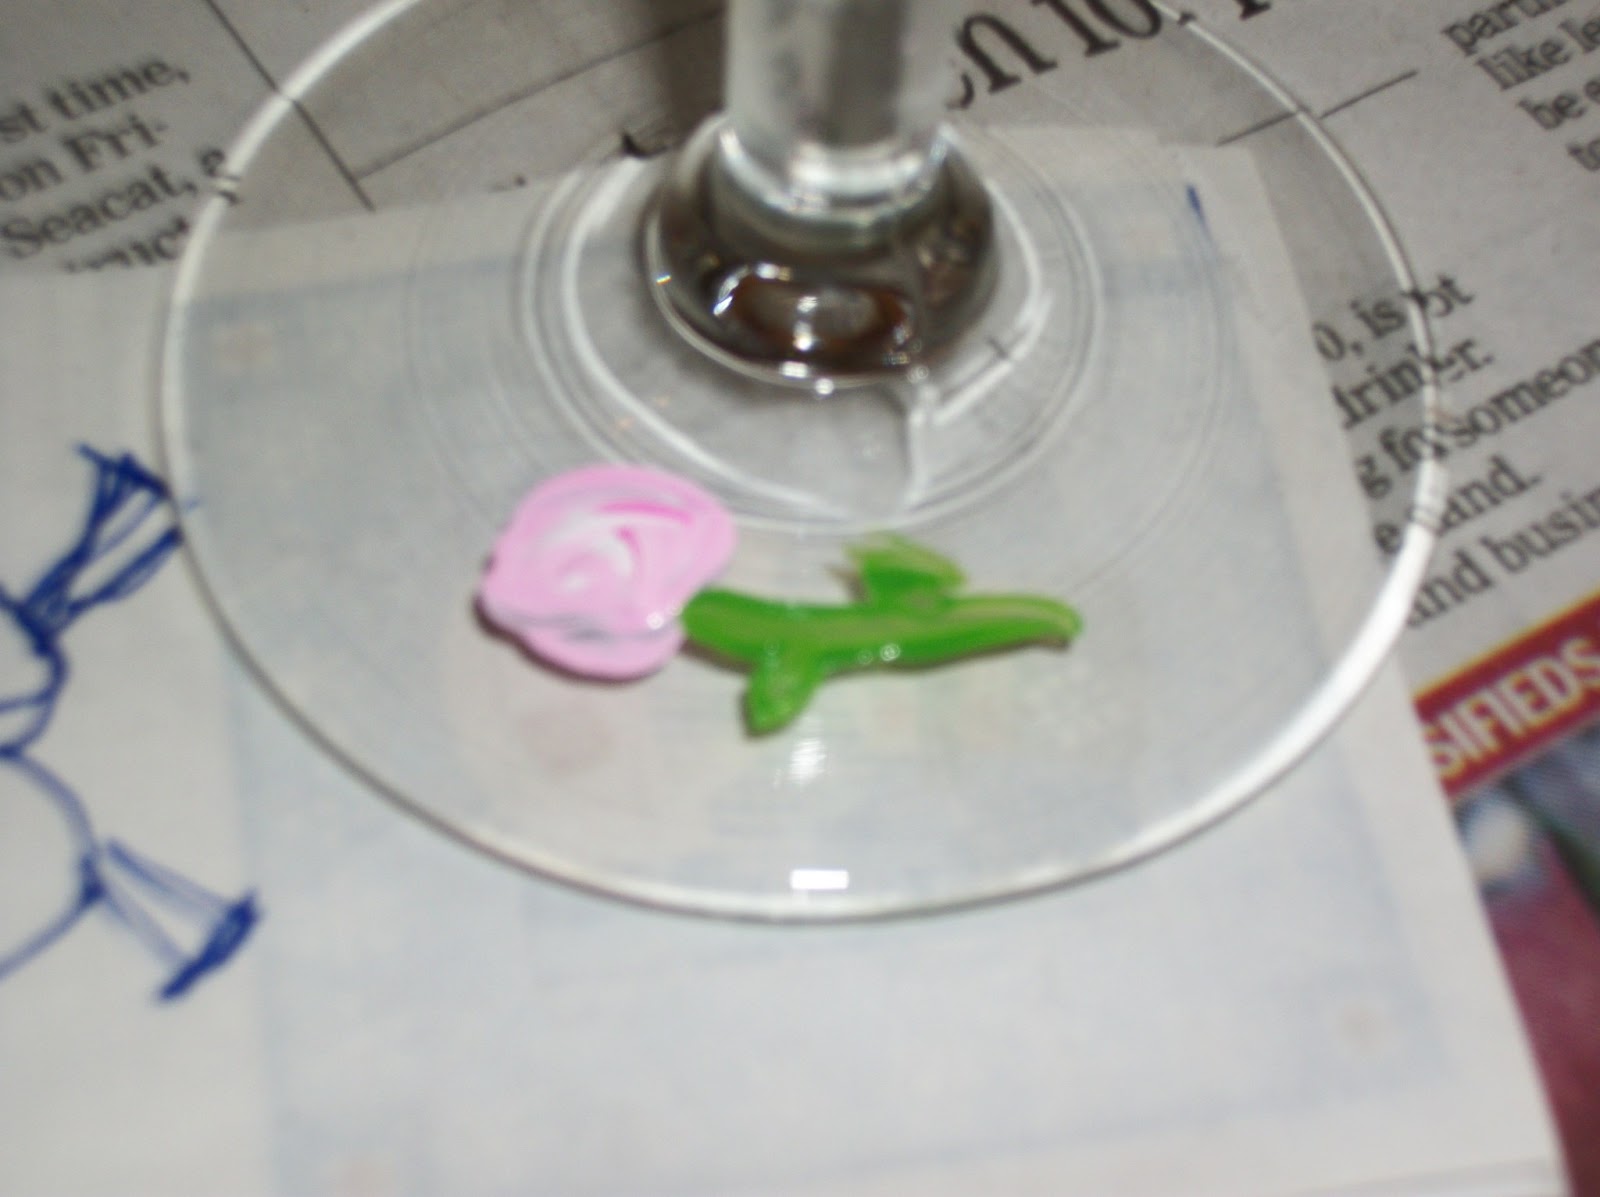
We added a rose to the bottom.
 
 
We researched and found that to "cure" the glasses (make them safe to wash) you could put them into a cold oven, heat them up, then let them cool while still in the oven OR wait 21 days.  Since we didn't want any explosions and we didn't actually need them for 21 days, we went with that option.
 
Everyone loved them!


Monday, July 22, 2013

DIY Giant Polaroid

We wanted to create a giant polaroid as a version of a photo booth for my sister Laura's wedding.
make your own giant polaroid frame, polaroid photo booth, wedding DIY polaroid


 For this Project you'll need:
2 pieces of foam core board
(actually 1 is sufficient, but I wanted a bit more space, for bigger groups)
measuring tool
pen
exacto knife
tape (if using two boards)
printed text/shapes
mod podge
foam brush
I just decided what dimensions looked right to me, but I ended up with the 3 sides at 4 1/4 inches and the bottom border at 9 1/2 inches.
I cut one board in half and used the unused half as a straightedge.  I measured and drew the line I wanted to cut.


Then I used an exacto knife and tried my best to cut straight.  It takes a lot of hand strength.


Then I taped the pieces together using packing tape.


I then cut out the words and heart I had printed and positioned them.


Then I used mod podge on the front and back of the paper to glue it down.


We didn't know if there was a way to hang it in the (gym) reception hall, so we brainstormed and came up with the idea of handles on the back.  I cut wide ribbon and hot glued it on.


It was a great success!  Here are some of the guests participating in the fun!


I love, LOVE that people got into it - it was so much fun!  If you were at the wedding and took your own photos - post them in the comment section below!!


Monday, July 15, 2013

Painted Banner - Miss♥To♥Mrs

I saw this banner on Etsy and thought it would be adorable at our Bachelorette Brunch, so I made an attempt!

 
This banner is for sale on Etsy here.
 
For this Project you'll need:
stencils
paint
foam brush
ribbon
hole punch
cardstock pieces (My stencils are really tall, so I had to get 4.5 x 6.5, but I like the look of square)


I was trying to replicate what I saw on Etsy, but I didn't think the stencils worked very well.  The paint would get under the stencil and smudge and I don't like the spaces that stencils leave, so I tried to fill those in.  The result was not very crisp or precise lettering. 


To make the hearts, I traced around a cookie cutter, then carefully painted over that and I did like how they turned out.  If I were doing it again, I would print the letters on a printer.  Then I hole-punched each letter and thread a ribbon through - very simple!


It looked better from a distance, at the brunch!


Monday, July 8, 2013

Wedding Activity Book for Kids

I searched the internet and when I didn't find any that I really loved, I decided to make my own!  It was really quite easy!  I started by folding post-its into book pages so I could get an idea of what sides would go where (I know that is a terrible sentence).  See below.
This helped me realized I only needed two sheets of paper per book. 
When designing, here is the order:
Back - Cover
Page 1 - Page 6
Page 5 - Page 2
Page 3 - Page 4
Steps in Microsoft Word:
  Page Layout>Orientation - Set to Landscape
  Page Layout>Margins>Custom Margins - .2
  Page Layout>Columns - Two
I designed the cover (first page, column two) using a text box and insert shapes.  For the little hearts in the date, I used Alt3.  ♥
Then I searched the web to find coloring pages or activities.  I actually did the connect the number page myself, using a bunch of tiny text boxes!
Here are some of the links I used:


When printing:
Choose Print on Both sides of Page, flip on short side.
Final steps are to fold and bind.  I decided to use two holes and a ribbon as binding.

how to make a wedding activity book for kids, wedding coloring book for kids
Now all we need are crayons!  To see instructions for the pretty felt envelope pouch I made to hold crayons, click here!


Monday, July 1, 2013

Ribboned Wedding Wands

Are you looking for a unique alternative to bubbles or birdseed for your wedding exit?  Look no further!  We decided to use these wedding wands for my sister Laura's wedding and they look amazing in pictures and are fun for the guests to keep!
 
I also posted this today, because besides being beautiful in weddings, these wands would be great for toddlers on the 4th of July - sparklers might be too dangerous, but these are fun to wave!


What you need:
wooden dowel rods, whatever length you want - but make sure to get a medium width
ribbon(s), in the colors you choose
screw eyes (found in the hardware section of walmart)
jingle bells (optional)
wire to add bells (optional)
paint for dowel rods (optional)


I got my two sisters, brother-in-law and future brother-in-law to help with the assembly, so luckily it went really quickly - but I'm so mad - I neglected to take any pictures! 

We did have trouble - I had bought two different sizes of screw eyes and the size is pretty important.  By zooming into my pic, I see that it says 3/4, which was the better size. 

First, we painted the dowels with spray paint, outside on newspaper.  This didn't work great, as it was hard to rotate a big bunch of dowels evenly.  Also the dowels dried stuck to the newspaper.  I don't have any magic suggestions other than handpainting each one with a foam brush.  Let me know what works best for you.

Then, my brothers-in-law did the difficult job of screwing the screw eyes into the dowels. 
It takes muscles!

Then we used wire to tie a jingle bell onto the screw eye.

Then we cut ribbon, about twice as long as your dowel rod, and tied it onto the screw eye.

We thought they looked gorgeous in their vase - almost like an interesting wedding decoration.


And they looked even better being waved, as Josh and Laura made their exit!


My niece Hadley especially loved waving her wand!  And if you like her dress, see instructions here!


What did you have (or would want to have) for your wedding exit?


Signature

Signature

You Might Also Like...

Blog Archive