Search This Blog

Showing posts with label summer activity. Show all posts

Monday, August 14, 2023

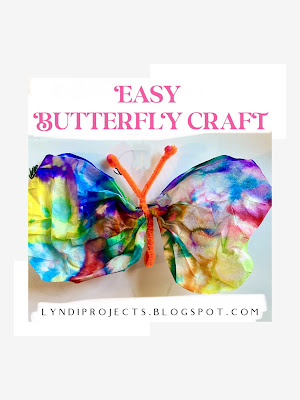
Easy Butterfly Craft


At this point in the summer, you may be running out of craft ideas - this is perfect for people who have standard craft supplies sitting around, but need a fun idea.  

For this project you'll need:
-washable markers
-coffee filters
-pipe cleaners
-spray water bottle
-pony beads (optional)
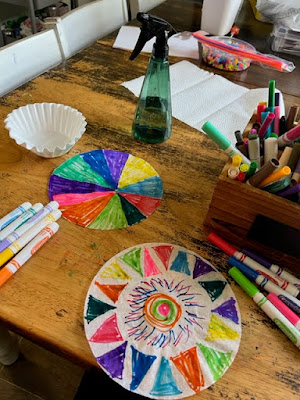


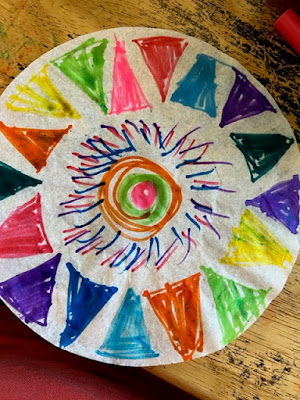
 Using washable (regular Crayola) markers, draw designs on 2 coffee filters.  I tried leaving white space and not leaving white space and both turned out great, so either works.
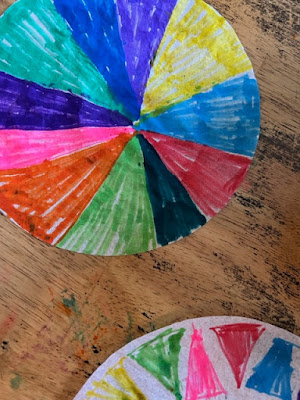


Then place them on top of a paper towel or plastic bag (to protect a surface below) and mist them with a water bottle.  It's fun to see the colors bleed and your design change.
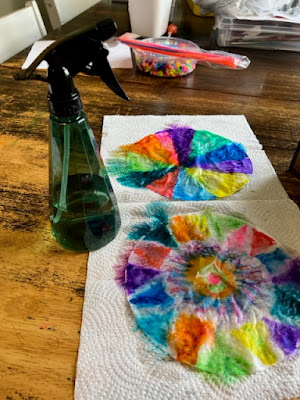
Then you let them dry.
Then accordion (or fan) fold each, in about 1/2 inch folds.
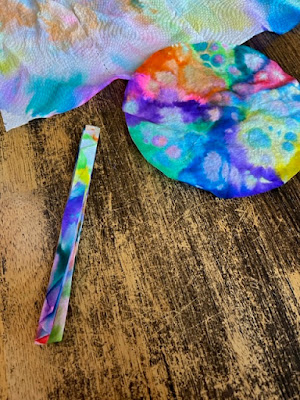


 Then unfold, stack the accordion folds on top of each other.  Then take a pipe cleaner, folded in half and twist to secure the coffee filters.  Leave straight pieces at the top for the antennae.  
Finally, add pony beads at the top and curl the pipe cleaner to secure them.

It goes perfectly with my other art projects on display!


Join Amazon Prime - Watch Thousands of Movies & TV Shows Anytime - Start Free Trial Now

Monday, June 28, 2021

Patriotic Windsock


 For This Project You'll Need:
tin cans (save from cooking, wash, remove label)
blue acrylic paint (I gave the kids a few options) and foam brushes
foam star stickers 
These are a fun red, white and blue option from Amason:
a drill
red and white ribbon
string (I used blue and white butchers twine)
hot glue gun/glue (or glue dots)


Step 1: To prepare for this craft, save cans, wash them and remove the labels.  Then drill two holes on the sides, near the top (the part that still has a lid).  Gather materials. You could also cut lengths of ribbon.

Step 2:  Let the kids choose a blue paint and paint their cans.


Step 3:  Add ribbon around the bottom with glue dots or a hot glue gun, alternating red and white.

Step 4:  Add star stickers on the can.

Step 5:  Add the twine through the two drilled holes and tie, which will be the hanger.

Then hang outside and enjoy!

Monday, June 8, 2020

Tie Dye

Before all the COVID-19 craziness happened, my mom and I planned a fun activity for my nephew Henry.  He is in kindergarten and it all started when I wore a new shirt (similar to this one) and he complimented it, which was super cute. 

So we found the perfect tie dye kit at JoAnn Fabric with three colors in it that could work for a boy or girl and we also bought t-shirts there for Henry and his two younger sisters.

For this Project you'll need:
Tie Die Kit  - linked above (it comes with powder, mixing bottles, rubber bands and instructions)
white t-shirt(s) (you might as well do several, because the die, once mixed, doesn't last very long)


This is Henry's shirt - he did such a great job!!!

He concentrated and worked very hard on making his shirt.  He was careful not to over saturate - he dropped drips on each section and so he has a lot of white in his end design.

To make the "swirl" - lay the shirt flat, then pinch the spot where you want to be the center of the swirl, while still pinching, rotate your hand clockwise and the shirt will start to twist into a swirl.  Keeping that flat, swirled disc of t-shirt, wrap rubber bands around it in intervals like the picture below.  This will keep the swirl in place and give you a guideline of sections.  You then drop dye of each color onto different sections and then leave the areas under the rubber bands white.  Once you've gotten it as saturated as you want it, flip the t-shirt disc upside down and do the same thing on the back side.


My mom made this one for Marlowe - center swirl, medium saturate - it turned out great!


I made this one for Gia - mine is unique because I started the center of the swirl off-center - in the bottom right of the t-shirt and because I fully saturated my sections, which didn't leave much white.


Tie-Dye is super on trend and really fun to make your own - order a kit and make your own!

Monday, June 1, 2020

DIY Picnic Blanket

Last summer my sister Jordan got her kids into a fun routine with special days of the week.  

Make It Monday, where they made a craft.  
Taste it Tuesday, where they helped cook or tried something new to eat or ate a special treat.  
Water Wednesday, where they played with the water table, went to the pool, ran through a sprinkler in the backyard, etc.
Picnic Thursday, where they went to the park for the afternoon and took a picnic lunch.  
Family Friday Movie Night - where they picked a movie to watch together or went to the theater.
I thought the whole concept was so adorable.  Picnic Thursday gave me the idea to make them a picnic blanket.  I had a lot of fun choosing fabric and then I chose a laminated fabric as the back side, to lay on the ground.


I also wanted to make it big enough for their whole family to use it, so I made it two yards long.

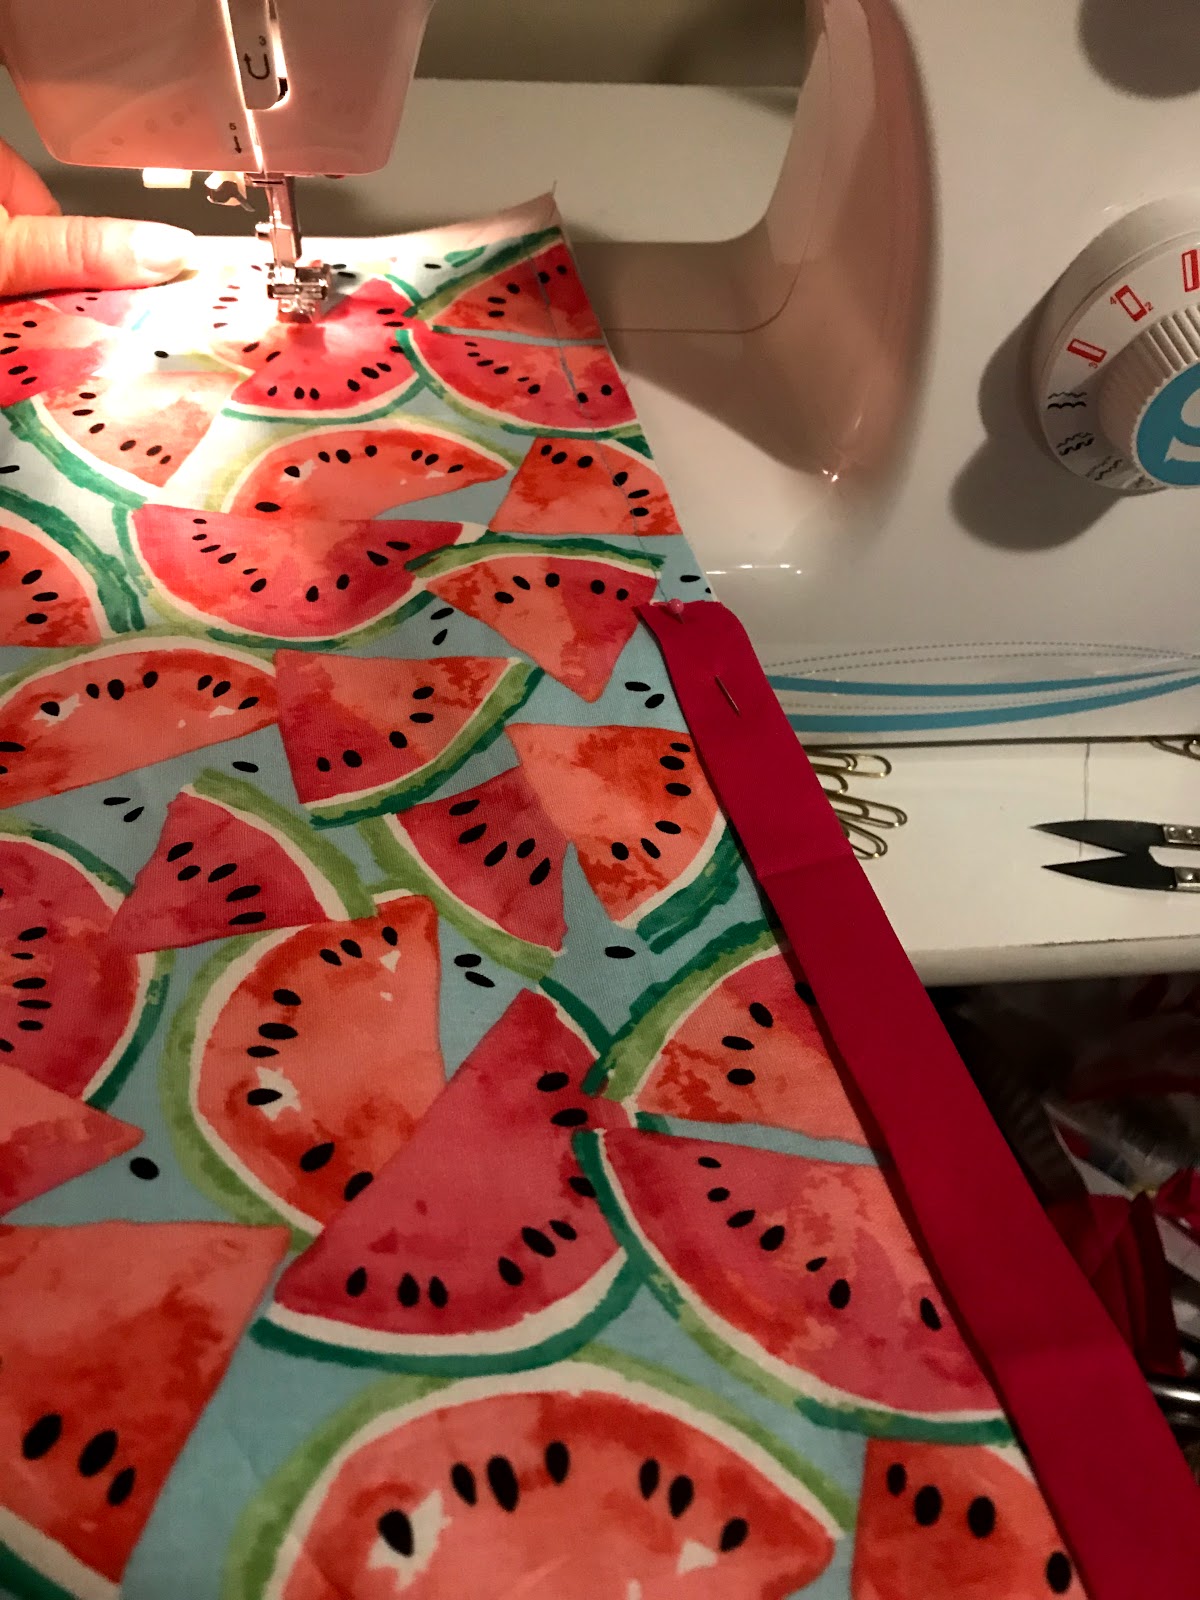
I spread out the black and white vinyl fabric right side down on the floor.  Then I arranged the watermelon fabric on top, right side up.  (So wrong sides were facing each other.)  Then I pinned all the way around.  Then I sewed the two pieces together.

I laid out the blanket again and pinned binding around it.  I made sure to miter the corners.


Once that part was complete, I came up with how it should be folded and then added a velcro closure and handle for carrying.


It made me so happy to see my niece and nephew enjoying their Picnic Thursday!


Monday, August 6, 2018

DIY Pirate's Treasure Map


I LOVE how my nephew Henry, who is 4, gets really into topics.  He's been into trains, dirt movers, colossal squids, octopuses, the human body and now pirates.  When he discovers these new interests, his mom takes him to the library and they check out all the books on that topic.  He listens intently and learns all the facts.  It is super cute.  So when my sister told me the new topic was pirates - my mind started turning.  I thought he'd love finding a treasure map and hunting for buried treasure!

I was searching through Dollar Tree  - looking for treasure and getting ready to buy giant checkers and spray paint them gold - when I found the perfect package of oversize coins in the party favor section!  In the same aisle I found a little gift box that was perfect.  And then I bought a 2 pack of gold bead necklaces (and pulled off the shot glasses).

Then I went to the park and surveyed it - I figured out a perfect place to hide the treasure and drew myself a rough map of the park.  Wichita has the perfect park for this activity - the play equipment is a pirate ship.


For this project you'll need:
brown paper bag
markers
"treasure"
"treasure chest"


I cut an oval out of the bag and then crumpled it and tore the edges - to add character and make it look old.  Then I used colored pencils, markers and metallic pens to prepare my map.


I got to the park ahead of Henry's family and hid the treasure and rolled up the map and told him I found it in Pirate's Park and I needed his help to find the buried treasure.  He was SUPER excited!


I helped him spot landmarks on the map and he ran to each new landmark - each one taking us closer to the treasure.

Once we found the treasure - he was still so happy and excited - he carried it all around the playground. 


His baby sister was very interested in the treasure too!  I love that for under $5 and a little effort - Henry and I created this fun memory together.  It's one of my favorite jobs, as an Aunt, to create magic for my nieces and nephews.


Signature

Signature

You Might Also Like...

Blog Archive